
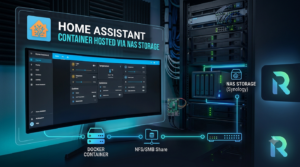

- Deployment Method: Home Assistant Container (Docker)
- Storage Location: Central NAS Volume mounted via NFS/SMB
- Key Advantage: Direct access to
/configfiles (includingconfiguration.yaml) via local file explorer on your PC.
Step 1: Storage & Folder Structure
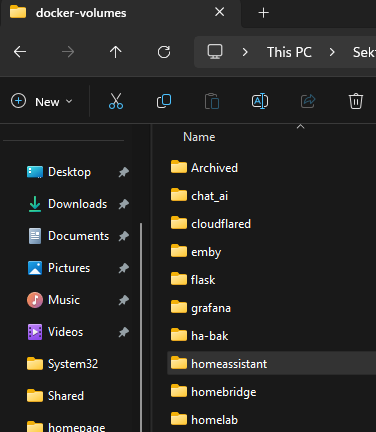
- Create the Storage Directory on your NAS share (e.g., within your Docker volume mount):Plaintext
/volume1/<your-nas-share>/docker-volumes/homeassistant - Expose via Network Share (SMB/NFS): Ensure this directory is mapped or shared to your local network so it appears in Windows File Explorer (or macOS Finder).
Step 2: Docker / Portainer Deployment
When launching the container (via Portainer, Docker CLI, or Docker Compose), configure network and volume mappings as follows:
Volume Mapping
Map your NAS path directly to the internal /config container path:
- Container Path:
/config - Host / NAS Path:
/volume1/<your-nas-share>/docker-volumes/homeassistant
Portainer / Compose snippet
YAML
version: '3.8'
services:
  homeassistant:
    container_name: homeassistant
    image: ghcr.io/home-assistant/home-assistant:stable
    volumes:
      - /volume1/<your-nas-share>/docker-volumes/homeassistant:/config
      - /etc/localtime:/etc/localtime:ro
    network_mode: host
    restart: unless-stopped
Note: Using
network_mode: hostis strongly recommended for Home Assistant Container to allow automatic discovery of smart devices on your local network.
Step 3: Launch & Initial Setup
- Start the Container: Deploy the container via Portainer or
docker compose up -d. - Initial Web Onboarding:
- Open your web browser and navigate to:
http://<YOUR_HOST_IP>:8123 - Create your initial administrator account, set your location, and complete the setup wizard.
- Open your web browser and navigate to:
Step 4: Editing configuration.yaml via NAS Share
Because /config is mapped directly to your NAS share:
- Open File Explorer on your PC and navigate to your shared NAS directory:
\\<NAS_IP>\<your-nas-share>\docker-volumes\homeassistant - You will see the auto-generated Home Assistant configuration files:
configuration.yamlautomations.yamlscripts.yamlscenes.yaml
- Editing: Open
configuration.yamlusing any text editor (such as VS Code or Notepad++). - Applying Changes:
- Save the file.
- Go to Home Assistant UI $\rightarrow$ Developer Tools $\rightarrow$ YAML tab.
- Click Check Configuration.
- If valid, click Restart (or reload individual components).