
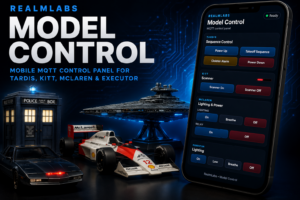

After moving Node-RED from my Raspberry Pi to my Synology NAS, I realised there was one part of the setup I had not rebuilt.
Manual control.
Most of the models in the lab are already controlled using MQTT, including KITT, the TARDIS, the Senna McLaren and the Executor. Home Assistant could easily be used as the front end again, but I wanted something simpler: a lightweight web page that worked well on a phone and gave me direct access to the controls I actually use.
The result is a small RealmLabs Model Control panel hosted on the Synology.
The existing setup
The models already use MQTT for their control layer.
Examples include:
kitt/scanner/set

mclaren/led/set
mclaren/relay/set

executor/led/set

pi/tardis/command
The MQTT broker also runs on the Synology, while the Raspberry Pi handles the GPIO and physical model control.
That means the underlying architecture was already ideal for a web interface:
Phone
  ↓
Web control panel
  ↓
MQTT broker
  ↓
Raspberry Pi / ESP controller
  ↓
Physical model
The main job was therefore building a clean front end and making sure MQTT credentials were not exposed in the browser.
The finished control panel
The final interface is deliberately simple and mobile friendly, with each model split into its own section and only the controls that are actually useful.
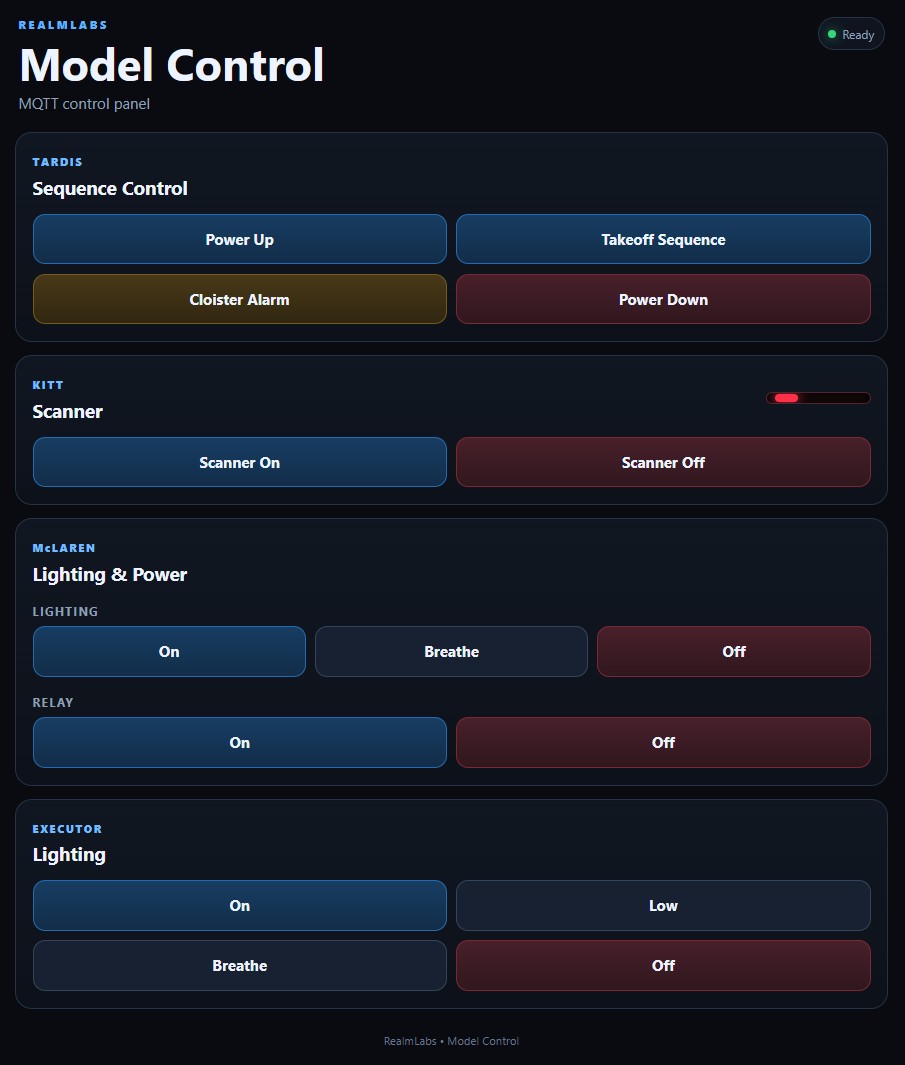
The page is hosted internally on the Synology and gives me one place to manually trigger all four model projects without having to open Home Assistant or Node-RED.
Hosting the control panel
The control panel is hosted through Synology Web Station.
The first mistake I made was testing the page directly from a mapped network drive.
That resulted in browser CORS errors because the page was being opened using a file:// URL rather than through HTTP.
For example:
file:///Y:/nfs/www/control-panel/index.html
This does not work correctly with JavaScript fetch() requests.
The page needs to be accessed through Web Station instead:
http://192.168.68.20:3010/
Once the site was served properly over HTTP, the browser could call the PHP backend normally.
Keeping MQTT credentials out of the browser
I did not want the MQTT username and password embedded in JavaScript.
Instead, the web page sends commands to a PHP endpoint:
api/control.php
The PHP backend then connects to the MQTT broker and publishes the required message.
The credentials are stored separately in:
api/mqtt-config.php
For example:
<?php

return [
    'host'     => '192.168.68.20',
    'port'     => 1883,
    'username' => 'MQTT_USERNAME',
    'password' => 'MQTT_PASSWORD',
];
Keeping this in a separate file also makes updates easier.
The main application files can be replaced without overwriting the local credentials.
TARDIS sequence control
The TARDIS ended up being the most interesting part of the project.
Rather than exposing every individual light, sound and effect, I only wanted the main sequences that I actually use.
The control panel therefore provides four buttons:
- Power Up
- Takeoff Sequence
- Cloister Alarm
- Power Down
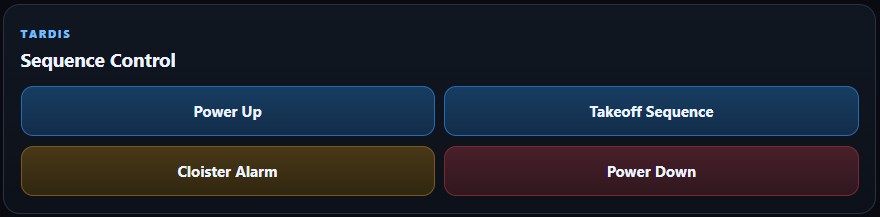
The useful part is that these buttons do not recreate the sequence logic inside the web application.
Instead, I added four MQTT trigger topics in Node-RED:
tardis/control/powerup
tardis/control/takeoff
tardis/control/cloister
tardis/control/powerdown
These are wired into the same flows already used by the scheduled automations.
For example:
Web page
  ↓
tardis/control/takeoff
  ↓
Node-RED MQTT In
  ↓
Existing takeoff sequence
  ↓
TARDIS Pi Agent
This means the existing timers, delays, lights and sound effects remain entirely within Node-RED.
The webpage just provides another way of triggering them.
That is much cleaner than duplicating the sequence logic in PHP.
KITT scanner control
KITT is much simpler.
The scanner listens on:
kitt/scanner/set
with two payloads:
ON
OFF
The control page exposes those as two large buttons, while the animated scanner indicator gives the section a bit of character.

The MQTT message is retained, which is useful because the scanner can receive the last requested state again after reconnecting.
Senna McLaren control
The McLaren has two independently controlled systems.
The lighting uses:
mclaren/led/set
with:
ON
OFF
BREATHE
The relay uses:
mclaren/relay/set
with:
ON
OFF
Both are represented separately on the control page.
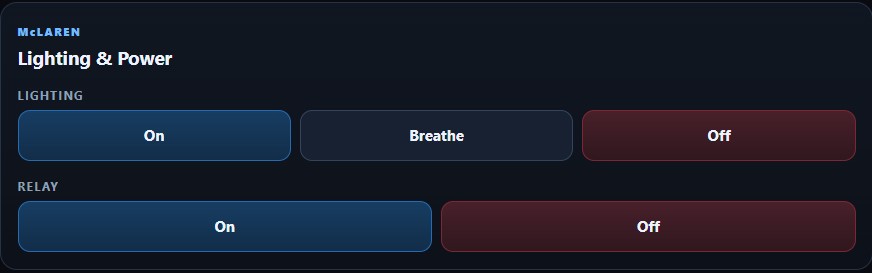
This gives me direct control of the lighting effect while still allowing the relay to be switched independently.
The Breathe mode is particularly useful because it gives the model a much less static appearance than simply leaving the LEDs switched on.
Executor lighting
The Executor uses:
executor/led/set
with four modes:
ON
LOW
BREATHE
OFF
These map naturally to four buttons in the interface.
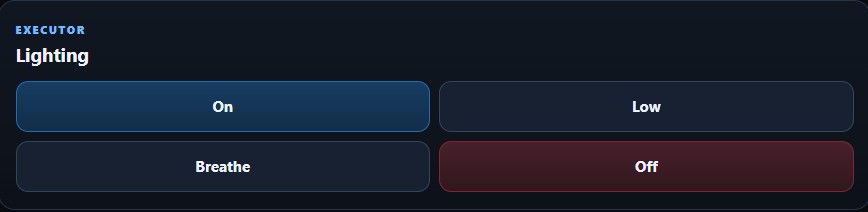
The LOW mode is especially handy because the Executor can otherwise be fairly bright in a darker room.
BREATHE gives it a more subtle animated effect without needing any extra logic in the web page itself.
Why MQTT works so well here
The main advantage of this setup is that the webpage does not need to know anything about GPIO.
It does not care whether the destination is:
- a Raspberry Pi
- an ESP32
- a Python service
- Node-RED
- or something else entirely
It simply publishes a message to a topic.
That keeps the interface completely separate from the hardware implementation.
For example:
Web page
  ↓
executor/led/set
  ↓
MQTT broker
  ↓
Raspberry Pi service
  ↓
GPIO
If I change the hardware later, the web page may not need to change at all.
Reusing Node-RED rather than replacing it
One of the best decisions in the project was not trying to move the automation logic into the control panel.
Node-RED already handles things such as:
- sunrise automation
- sunset automation
- hourly TARDIS sequences
- timed delays
- multiple MQTT commands
- lighting effects
- sound effects
There is no benefit in maintaining a second copy of that logic in PHP.
Instead, the control panel just acts as another input.
So the same TARDIS takeoff sequence can be triggered by:
Sunset
or:
Manual button press
Both end up feeding the same Node-RED flow.
That makes the system easier to understand and much easier to maintain.
Mobile-first design
The interface was designed around phone use from the start.
That meant:
- large buttons
- simple two-column layouts
- clear colour differences between normal and shutdown actions
- no unnecessary menus
- one section per model
On a larger screen the controls spread out naturally, while on a phone they remain easy to hit without zooming.
The aim was never to build another complicated dashboard.
It is effectively a remote control for the models in the lab.
Adding it to the RealmLabs dashboard
Once the panel was working, I also added it to my internal RealmLabs homepage alongside the other lab projects.
The entry points to:
http://192.168.68.20:3010
and sits alongside projects such as:
- RealmLabs
- the sim-racing leaderboard
- KARR
- Grafana monitoring
That gives me one central place to launch the tools and projects running around the lab.
Next step: controlling ALSA volume
While testing the TARDIS controls, another obvious addition appeared.
The TARDIS uses audio, and its volume is currently managed through ALSA on the Raspberry Pi.
Rather than opening alsamixer manually, the same MQTT architecture could control the audio level.
For example:
pi/tardis/audio/set
could accept commands such as:
VOL:50
VOLUP
VOLDOWN
MUTE
UNMUTE
The Raspberry Pi would then translate those messages into amixer commands.
Before doing that, the actual ALSA control needs to be identified with:
amixer scontrols
Depending on the audio device, the mixer control may be called Master, PCM, Speaker or something similar.
Once identified, the web panel could include a proper volume slider alongside the TARDIS controls.
Final architecture
The finished control path is now:
Phone
  ↓
RealmLabs Model Control
  ↓
PHP MQTT publisher
  ↓
Synology Mosquitto broker
  ↓
Node-RED / Raspberry Pi services
  ↓
KITT / TARDIS / McLaren / Executor
For the TARDIS sequences:
Phone
  ↓
MQTT trigger
  ↓
Node-RED
  ↓
Existing sequence
  ↓
TARDIS Pi Agent
It is a relatively small project, but it has turned into one of the more useful interfaces in the lab.
Home Assistant still has its place for wider automation and monitoring, but for quick manual control of the physical models, a dedicated web panel is faster, cleaner and much more phone friendly.