


Whether you are spinning up lightweight microservices or running fully featured desktop environments, Proxmox VE provides flexible virtualization through Linux Containers (LXC) and Virtual Machines (VMs).
This guide covers how to upload installation media, build VMs manually from ISOs, and quickly deploy LXC containers using community scripts.
Step 1: Logging into the Proxmox Web Interface
- Access your Proxmox server via your browser:Plaintext
https://<your-proxmox-ip>:8006 - Bypass the Certificate Warning: Proxmox uses a self-signed TLS/SSL certificate out of the box. Click Advanced and choose Proceed to access the login panel.
- Dismiss the Subscription Notice: Log in with your
rootcredentials. If prompted with “No valid subscription,” click OK. Proxmox VE is fully functional without an enterprise subscription.
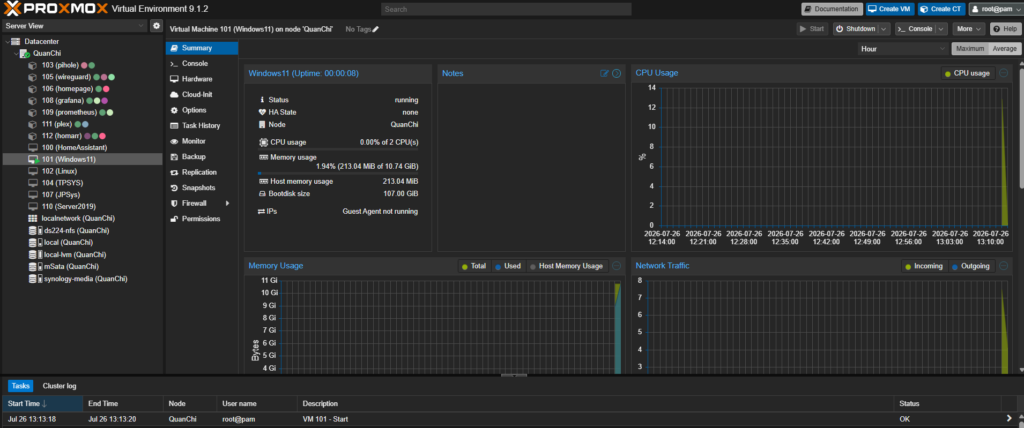
Step 2: How to Upload ISO Files to a Proxmox Storage Drive
Before manually creating a Virtual Machine, you need installation media stored on your server.
- Select your Proxmox Host Node in the left-hand navigation tree.
- Expand the node and select your ISO-capable storage drive (typically named local).
- Click on ISO Images from the middle menu tab.
- In my case i create a drive on the DS224+ to upload and store many ISO.
- Click Upload at the top bar, browse to your local computer’s
.isofile (e.g., Ubuntu Server or Windows 11), and click Upload.- Alternative: Click Download from URL to pull ISO images directly to Proxmox from official download mirrors without downloading them locally first.
Step 3: Creating Virtual Machines from Uploaded ISOs
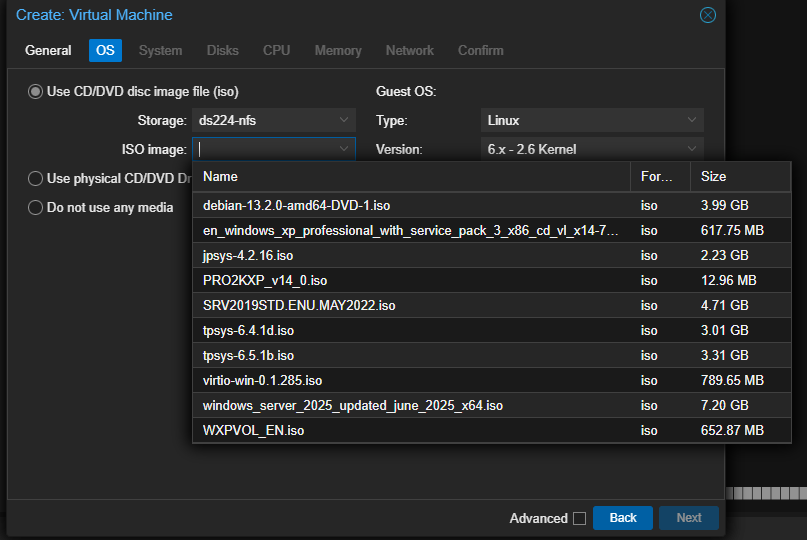
Once your ISO files are uploaded, click the Create VM button in the top-right corner of the Proxmox UI.
Option A: Setting Up a Linux VM (Ubuntu / Debian / AlmaLinux)
- General: Name your VM (e.g.,
linux-server-01). - OS: Select Use CD/DVD disc image file (iso), choose your local storage drive, and pick your Linux ISO.
- System: Keep defaults (Graphic card: Default, SCSI Controller: VirtIO SCSI single).
- Disks: Select VirtIO Block for optimal disk performance. Set storage size (e.g., 32 GB+).
- CPU: Set Cores (2+ recommended) and set Type to
hostorx86-64-v2-ABI. - Memory: Minimum 2048 MB RAM.
- Network: Model: VirtIO (paravirtualized).
Option B: Setting Up a Windows 11 VM
Windows 11 requires strict virtual hardware specifications (TPM 2.0 & Secure Boot):
- OS: Select the Windows 11 ISO and set Type to
Microsoft Windows/ Version11/2022. - System: * Machine:
q35- BIOS:
OVMF (UEFI) - Check Add EFI Disk and Add TPM (Select your storage pool and set TPM version to
v2.0).
- BIOS:
- Disks: Allocate at least 64 GB on fast storage (NVMe or SSD).
- CPU: Minimum 2 Cores, Type:
host. - Memory: Minimum 4096 MB RAM (Disable Ballooninging device for stable performance).
- Drivers Note: Windows setup may require VirtIO drivers for storage and networking. You can mount the official VirtIO ISO as a second CD/DVD drive to load drivers during Windows installation.
Step 4: Deploying Containers (LXC) & Docker
Linux Containers (LXC) share the host kernel, making them lightweight and extremely efficient compared to full VMs.
Rapid Deployment via VE Helper Scripts
Instead of setting up containers manually, you can use tested community scripts to deploy containerized applications or a dedicated Docker environment in seconds.
🔒 Security Note: Always inspect third-party automation scripts on GitHub before executing them directly in your server terminal.
- Open the Shell tab on your main Proxmox host node.
- Explore available deployment options via the Proxmox VE Helper-Scripts Repository or the Community Scripts Portal.
- Copy the desired script command into your Proxmox host shell to launch the interactive setup wizard.
Recommended Baseline Settings for LXCs
- Unprivileged Container: Enabled (essential for host system isolation and security).
- Nesting: Enabled (Required if running Docker engine inside an LXC).
- Resources: Allocate 2 Cores and 2048 MB RAM as a starting baseline for containerized applications.