
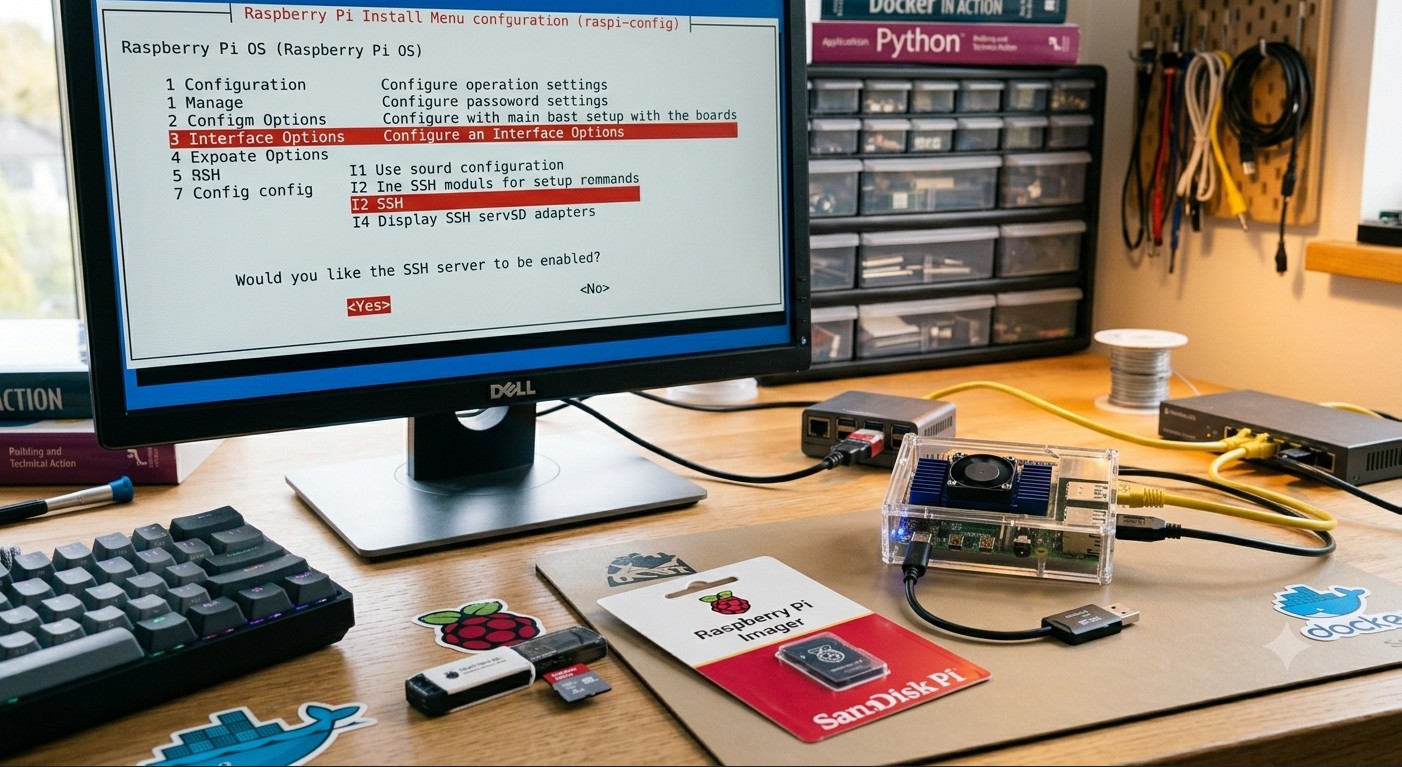
Overview
The Raspberry Pi is one of the most versatile computers available for home lab projects. Whether you’re building a smart home controller, web server or automation platform, the first step is getting Raspberry Pi OS installed and enabling remote access.
This guide walks through the initial setup so your Pi is ready for future projects.
What You’ll Need
- Raspberry Pi
- MicroSD card (16GB or larger recommended)
- Power supply
- Another computer
- Internet connection
Step 1 – Download Raspberry Pi Imager
Visit the Raspberry Pi website and download Raspberry Pi Imager for your operating system.
Install and launch the application.
Step 2 – Select the Operating System
Choose:
Raspberry Pi OS (64-bit)
The 64-bit version is recommended for most modern Raspberry Pi models and provides better compatibility with newer applications.
Step 3 – Select Your Storage
Insert your MicroSD card.
Choose the correct storage device inside Raspberry Pi Imager.
Double-check you have selected the correct drive before continuing.
Step 4 – Configure the Pi Before Writing
Click the settings icon before writing the image.
Configure:
- Hostname
- Username
- Password
- Wi-Fi (if required)
- Time Zone
- Enable SSH
Enabling SSH now saves connecting a keyboard and monitor later.
Step 5 – Write the Image
Click Write.
Allow the imaging process to complete.
Safely eject the MicroSD card.
Step 6 – Boot the Raspberry Pi
Insert the card.
Connect:
- Power
- Ethernet (recommended)
Allow the Pi several minutes to complete its first boot.
Step 7 – Connect Using SSH
Open a terminal or PowerShell window and run:
ssh [email protected]
or
ssh username@ip-address
Accept the security prompt and enter your password.
Troubleshooting
Cannot Connect
Check:
- SSH was enabled
- Network cable connected
- Same network
- Correct IP address
Hostname Doesn’t Resolve
Use the Pi’s IP address instead.
Next Steps
Now that the Raspberry Pi is online, you’re ready to install software such as:
- Docker
- Node-RED
- Home Assistant
- MQTT
- Web servers
These topics are covered in future Realm Labs guides.